Today we will have a lesson in crackling with American Paint Company's Clay/Chalk/Mineral based paint...
and it's gonna be so easy
- trust me.
First let's gather the supplies:
and it's gonna be so easy
- trust me.
First let's gather the supplies:
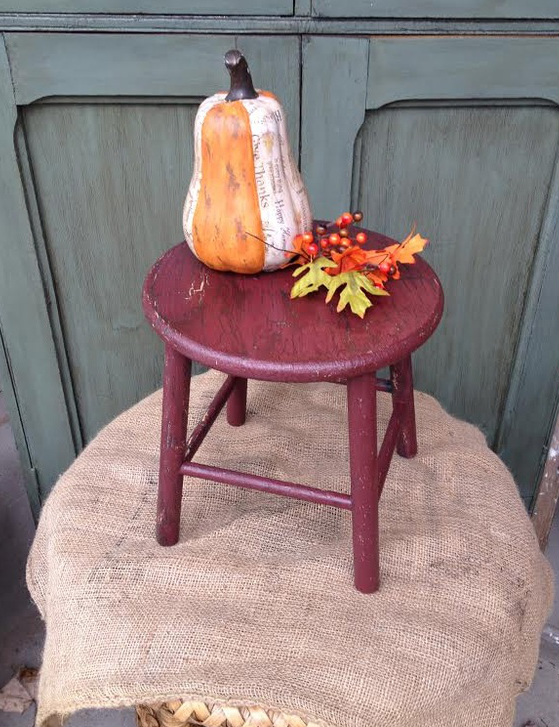
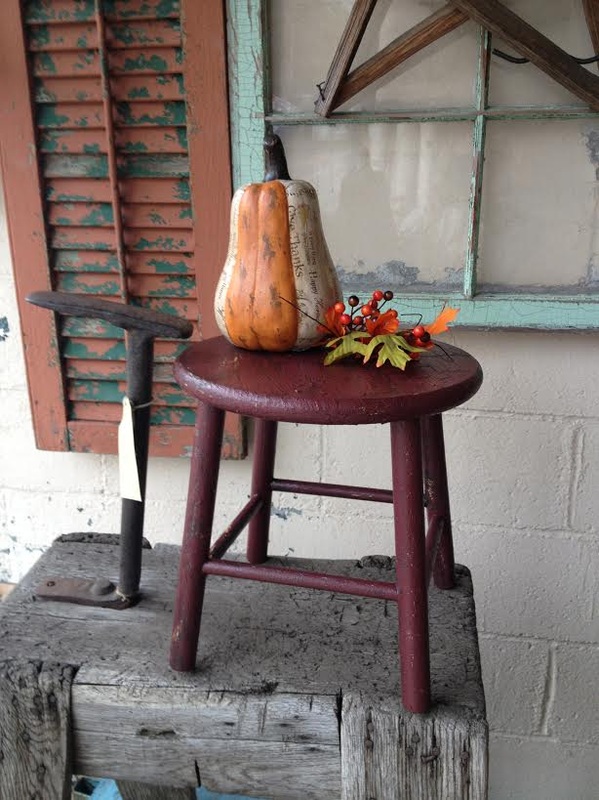
- a piece of furniture, start with something small to play around with, a picture frame, a stool, a section of molding, etc.
- craft glue, such as Elmer's
- at least two colors of paint, one will be your base coat that the crackle will show through to and the top coat which will be the main color of the object
- a couple of paint brushes, cheap chip brushes work fine
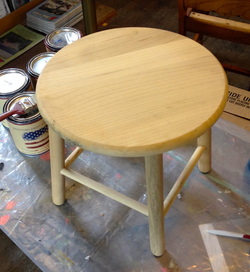
Make sure whatever you are painting is clean - a quick wipe down is all you need to get any dust/dirt off.
Next, paint your base color.
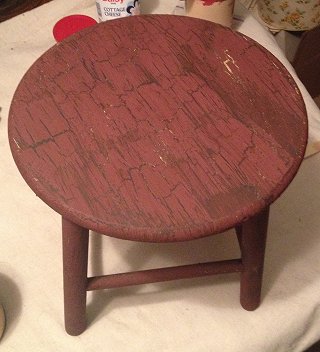
For our stool we used a rustic black called Lincoln's Hat. In addition we used a primitive yellow, Amber Waves, in swipes for a little more definition on the final project.
Let this dry completely, which shouldn't take long. Personally I find my coats can be dry within ten minutes in the right temperature (little humidity). If you are unsure wait 30 minutes to an hour.
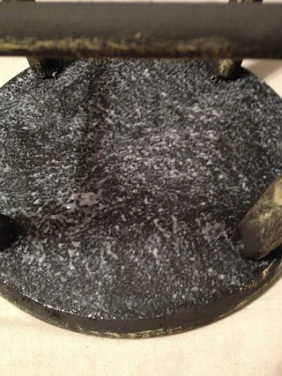
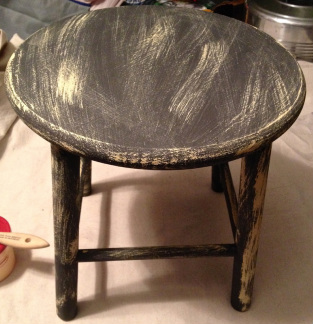
Now we will apply the glue. Three application techniques will produce three different finishes: pouncing, thick strokes, and thin strokes. Shown at the left on the bottom of our stool we used the scientific "pounce" method - basically jab the glue onto your surface in a random pattern. This will create a random crackle finish. Let the glue get tacky, this is key.
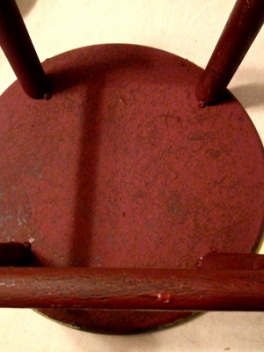
Once gummy, (test with your pinky, timing may take some practice at first so don't get discouraged) paint over the glue with your top coat color in the same pounce motion. On the right we used a custom barn red made from a blend of a vibrant red, Fireworks and a little of our base coat, Lincoln's Hat.
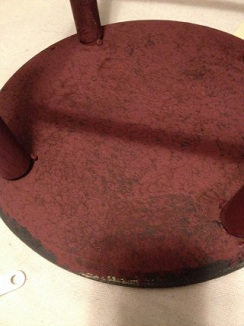
Once dry it should have the random crackle finish like the underside of the stool to the left. Results won't be 100% the same, that is what is amazing about using natural products; truly custom finishes.
Note: When doing a large project make sure you work in small sections so not to get ahead of yourself.
Note: When doing a large project make sure you work in small sections so not to get ahead of yourself.
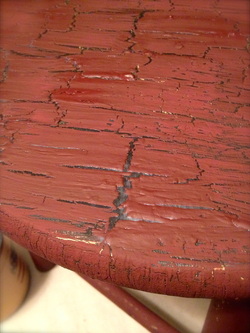
On the top of the stool, we did the second technique to produce large linear cracks. When covering with glue use thick strokes with a decent amount of glue...in turn this means it will take longer to get tacky. Thick glue = thick cracks. To the right is a picture of the process while drying.
Note: One tip here, less REALLY is more. Try not to over-brush. Doing so will NOT produce the desired crackling effect.
[The third technique is applying a thin layer of glue for a smaller crackle look, which we did on the rungs of our stool - however we over-brushed and it didn't have enough crackle for our taste.\
Guess what?! You're done! You've made an awesome crackling venture into the creative. Congratulations.
Conclude your craft by sealing the paint with any finish you please - wax, top coat, glaze! Just go for it! And above all else -
HAVE FUN!
HAVE FUN!